Upgraded Apple TV Hard Drives
I’ve been really pleased with the newest releases of the Apple TV software. Notably, the incorporation of AirTunes has resulted in me using them a lot more for stand-alone music playback. Contrary to what I’ve said many times in the past, I started to wish that I had more content local on the Apple TV units themselves. Why? A couple of reasons.
- I have noticed that video playback, particularly pausing and fast-forwarding, works better on content that is on the local hard drive.
- As crazy as this sounds, I’ve occasionally bottle necked my iTunes ‘server’. If you are pulling multiple audio streams, multiple video streams and another device starts a large sync you can get some stutter. This is not typical, and is a by product of my large deployment. The bottleneck ends up being I/O at the iTunes Library, in my best guess of the situation.
- More local content makes me less dependent on the iTunes ‘server’ being on all the time. I’ve had a couple of situations where I’ve had it powered down or cut a network for repair and caused problems with media playback.
I decided to take the plunge and do the upgrade. I had read about the procedure and it seemed pretty simple. Certainly way easier than hacking an Xbox. No soldering required here. If you are curious about doing this yourself, I followed the Engadget article on upgrading your Apple TV hard drive. I’ll add some of my own comments on the process below.
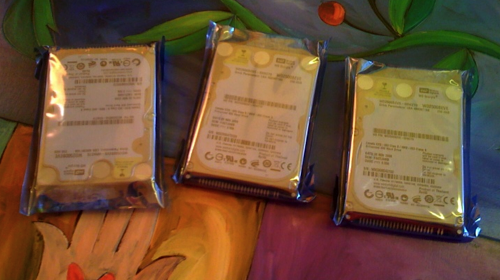
First thing, you need some drives. I ordered three of the Western Digital Scorpio Blue 250GB 2.5" PATA drives from NewEgg.

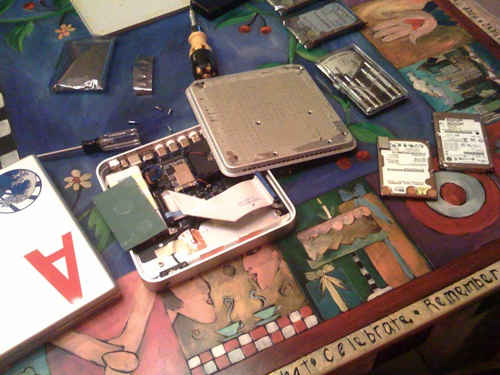
With the drives in hand, it was time to rip open one of the Apple TV’s and give it some bigger storage. This is really the only tricky part of the upgrade, since the Apple TV is not meant to be opened by the end-user.

The process is pretty painless, but I will highlight a couple of things not found in all the How To articles.
- I found that removing the bottom rubber pad was much easier to do when the unit was hot. I highly recommend having the Apple TV on for several hours and doing the removal when the unit is still hot. I had no issues removing the bottom pad on the two I did warm, but the third I did cold and I ended up with a couple of tears in the bottom rubber. Nothing significant, but annoying.
- You’ll need two Torx screwdrivers. The case screws are T-10, which you probably have if you have any Torx sets (my set was T-10, T-15 and T-20). But the hard drives is held in with T-8’s. I had to make a trip to the hardware store for a T-8 bit.
After doing the first one, the process was really simple and didn’t take long at all. After getting the drive out you have to duplicate the image from the factory installed drive to the new drive. You do this with [dd](http://en.wikipedia.org/wiki/Dd_(Unix)). You’ll need to be able to easily connect the drive to a computer. I had a USB adapter that can be connected to a bare drive already so this was easy. The dd step takes a while. It took 2 hours for me to read the drive and make the image, and another two hours to write the image onto the new drive.
Note, some of the write-ups suggest modifying the writing to not write the media files. I just did the entire image. Saving time here was not a priority for me, I wanted the drive exactly the same.
I wimped out and used iPartition to resize the Media partition. That turned a dozen commands into a click of the mouse and a few seconds of drive spinning. I figure I can use iPartition for other things too. After the repartition you just put it all back together and plug it in again.

Just like that I had a ton of available storage, and let iTunes spend another few hours filling it up with content.

I have noticed that iTunes synchronizes things in a specific way when you have a big drive. All of my music is stored locally on each Apple TV, I like that. But priority seems to be given to unwatched TV Shows. There seems to be a rule in the sync that always wants those local if there is space. Probably makes sense, but it does mean that after TV and Music most movies are streaming. I wish there was a way to do something between automatic and custom sync. I’d like to do an automatic sync, but be able to pin a number of things to be local all the time. This would be really great for Mazie’s stuff that she watches repeatedly.
So far everything is great. I did find a bug in the Apple TV software while testing offline use of the Apple TV related to AirTunes. I think having more local content will make the user experience all that better. Plus, I dig the idea of leaving for a trip and just yanking an Apple TV to take along and having so much content with us in a small package.